
Blog
Custom Frames for Photographs That Fit Right


A photograph can be perfectly printed and still feel unfinished when it is surrounded by a frame that is too small, too heavy, or simply wrong for the room. Custom frames for photographs solve that problem by matching the frame to the image, not forcing the image into whatever size happens to be available. Whether you are framing wedding portraits, a child’s school photo, a travel print, or a favorite landscape you shot yourself, the right build makes the photo feel intentional on the wall.
A custom frame is also practical. It gives you control over exact dimensions, matting, glazing, finish, and hanging orientation. That matters when a photo has an uncommon size, includes a white border, or needs protection from bright rooms and everyday handling.
Start With the Photograph, Not the Frame
Before choosing a frame color or profile, look closely at the photograph itself. Is it a glossy color print, a black-and-white portrait, a vintage family photo, or a large-format landscape? Each calls for a slightly different approach.
Color photographs usually benefit from a frame that supports one of the image’s quieter tones instead of competing with its brightest color. A warm wood finish can bring out sunset, autumn, and family photos, while black, white, silver, or natural finishes tend to suit modern interiors and clean photography. Black-and-white images are flexible, but they often look strongest with simple black, white, or wood frames that keep attention on contrast and expression.
Pay attention to the visual weight of the image. A close-up portrait with a dark background can carry a wider, darker moulding. A light beach scene or a delicate botanical photo may look better in a narrower profile. There is no rule that every photograph needs a thin black frame. The goal is balance: the frame should give the photo presence without becoming the first thing people notice.
Measure for Custom Frames for Photographs
Most framing mistakes begin with a measurement that means one thing to the customer and another to the frame maker. Measure the printed image area first, then decide whether any white border around it should remain visible.
If the photograph is an 8 x 10 print and you want the entire print, including its border, displayed, order for the full 8 x 10 size. If you plan to use a mat with an opening that reveals only the image, your frame size will be larger than the photograph itself. For example, an 8 x 10 photo may look at home in an 11 x 14 frame with a mat.
A few simple checks prevent costly guesswork:
- Measure width first, then height, using the actual item rather than the size printed on the packaging.
- Check whether the photo is vertical or horizontal so the hanger placement matches the display direction.
- Keep borders in mind. A printed white edge can be a design feature, not wasted space.
- If you are framing a mounted photo, canvas board, or a thicker print, confirm the frame depth can hold it securely.
For valuable originals, signed prints, or older family photographs, avoid trimming the image just to fit a standard frame. A made-to-order frame is often the better answer, especially when the photo has an unusual ratio.
Choose a Mat for Space, Protection, or Both
A mat creates breathing room between the photograph and the frame. It can make a small image feel more substantial, help a busy photo stand apart from the wall, and keep the glazing from resting directly against the print. For portraits, wedding pictures, and formal photography, a white, cream, black, or soft neutral mat is usually a dependable choice.
The trade-off is size. A mat adds outside dimensions, which means more wall space and a larger frame. That is often worthwhile for one meaningful image, but it may not be the right fit for a gallery wall where several photos need to sit close together. In that case, a full-bleed presentation without a mat can look clean and consistent.
Mat width changes the mood, too. Narrow mats feel contemporary and compact. Wider mats give a photo more presence and can make a smaller print feel like a finished piece of wall art. If you are unsure, choose proportion over drama: the mat should support the image rather than overwhelm it.
Select Materials That Match Where It Will Hang
A frame for a sunlit living room has different needs than one for a hallway, home office, or bedroom. UV-blocking plexiglass is a smart option for photographs displayed near windows or in bright spaces because it helps reduce exposure to damaging light while remaining lighter than traditional glass. Its lighter weight can also be useful for larger frames.
Photographs should not be pressed directly against glazing for long periods, particularly if humidity is a concern. A mat or proper spacing helps protect the print surface. If you are preserving an irreplaceable family photo, consider making a high-quality scan first. Framing protects a piece you love, but a digital backup protects the memory if life happens.
Frame material and profile also affect everyday use. A narrow frame may be right for a small 4 x 6 or 5 x 7 photo, while a larger print needs a profile with enough visual and structural strength to carry its size. Do not choose a wide frame only because the wall is large. The frame must still fit the scale and personality of the photograph.
Build a Look That Works With Your Room
The easiest way to choose a finish is to look at the room’s existing anchors: furniture, flooring, lighting, and nearby artwork. You do not need to match every wood tone exactly. In fact, an exact match can sometimes look flat. Instead, choose a finish that feels related in warmth or contrast.
Black frames create definition and work especially well with white walls, modern décor, and black-and-white photography. White frames can make colorful prints feel fresh and can disappear nicely into light walls. Natural wood and warm brown finishes bring a more relaxed, lived-in feel to family photos, outdoor scenes, and traditional spaces. Metallic finishes can fit contemporary photography, but they tend to show best when the room already includes metal accents.
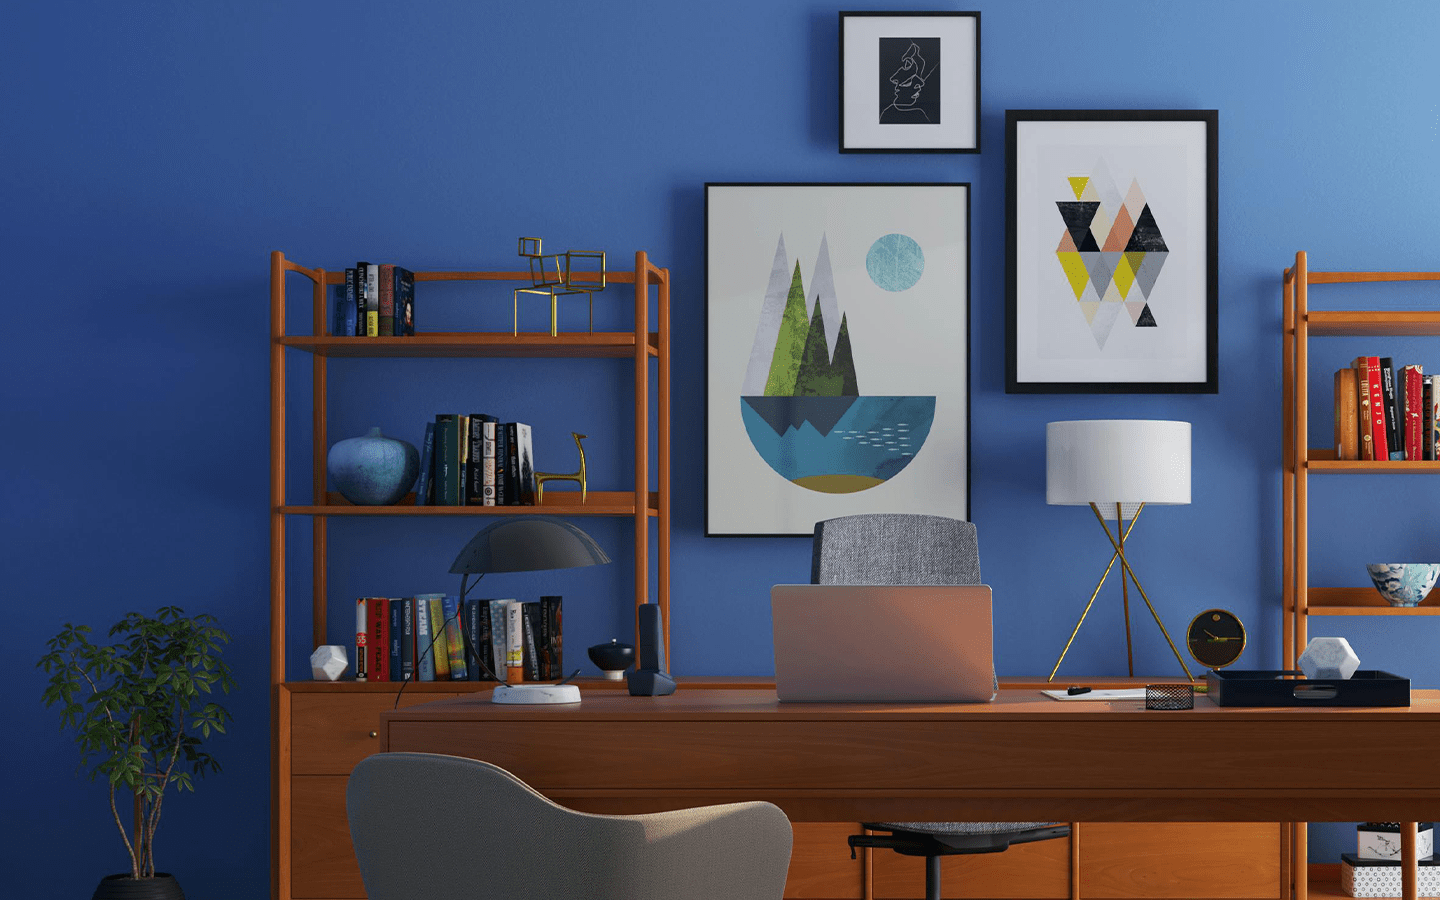
For a gallery wall, consistency usually matters more than identical frame sizes. You can mix vertical and horizontal photographs, use different print dimensions, and still get a cohesive display by repeating one or two frame finishes. If every frame is different, use a shared mat color or keep a consistent spacing between pieces.
Do Not Forget the Back of the Frame
A frame should be ready to hang, not another project waiting in a closet. Preinstalled hangers make a real difference when you are assembling a wall display or giving a framed photograph as a gift. Check that the frame will hang in your intended orientation and use wall hardware suited to the frame’s size and weight.
For larger photographs, take time to place the frame at a comfortable viewing height. A common mistake is hanging art too high, especially above a sofa or console. The center of the image should generally feel connected to the furniture beneath it, not float far above it. Before making holes, hold the frame in place or use painter’s tape to mark its outside dimensions.
When Made-to-Order Is Worth It
Standard frames work well for common print sizes and quick projects. Custom framing earns its place when the photo is meaningful, the dimensions are unusual, the room needs a specific finish, or the finished result needs to look polished from every angle.
That includes more than formal portraits. A panoramic vacation print, a set of graduation photos, a restored family image, and a photographer’s signed print all deserve choices that fit the piece. U.S. Art Frames makes it possible to select those details through a guided online frame builder, with handcrafted frames made to order in Georgia.
The best framing decision is rarely about following one style rule. It is about giving a photograph the protection, proportion, and presence it deserves. Start with the image you want to see every day, then build the frame around that reason for keeping it close.
